|
|
|||
| Members Home Page | |||
|
|
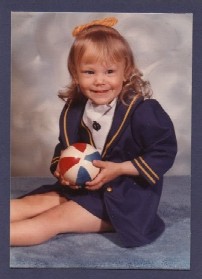
To mount your photos can be as simple or complex a process as you want it to be. You can glue your photos directly onto your pages with nothing extra, or for a more professional look, mount them. Put them on a coordinated background or object. Some formal poses look best with a double or triple complex mount (multiple frame/background layers). Remember we never make mistakes in scrapbooking; we make fixable little �OOPS�. For simple mounting, cut coordinated colored cardstock or scrapbook papers just a little larger than the actual photo. You can use decorative scissors, paper cutters or complete cutting systems that are available most anywhere you find scrapbook supplies. Once you have a shape of plain cardstock or paper that is slightly larger than your photo, you will need to glue your photo onto it. This is called mounting. Then glue your mounted photo directly onto your page. Simple Mount
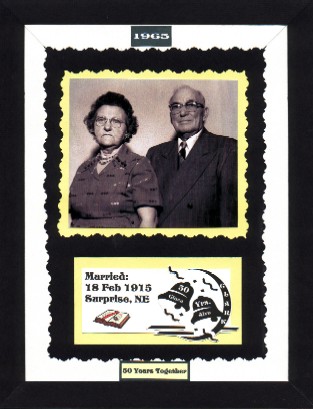
For a more complex mount, you can cut out several shapes of coordinating colors making each one larger than the last. Starting with the largest shape, glue each successively smaller shape on top of the other. Glue your photo at the very top and glue the whole set to your page. These are especially beautiful for wedding or formal photos. Complex Mount
Another popular mounting method is to cut out frame openings and mount the picture under the frame, showing through the opening. You can buy pre-printed frames or make your own on the computer. I usually make my own. Check out our frame sets on Princesscrafts.com. Framed Mount
Lay your mounted photos out on your pages before you glue them. This will give you an idea of how it will look. You can arrange and re-arrange to your hearts content. Treat each photo as a project all it�s own. The quality of your albums will live on it the hearts of future generations so keep that in mind on your less creative days.
|
||
|
Privacy Policy SPAM Policy Disclaimer Contact Us Return Policy |
|||
|
|||
|
|
|
|
|